Have you seen my new tagline?
Food and wine. Trial and error. Love and bacon.
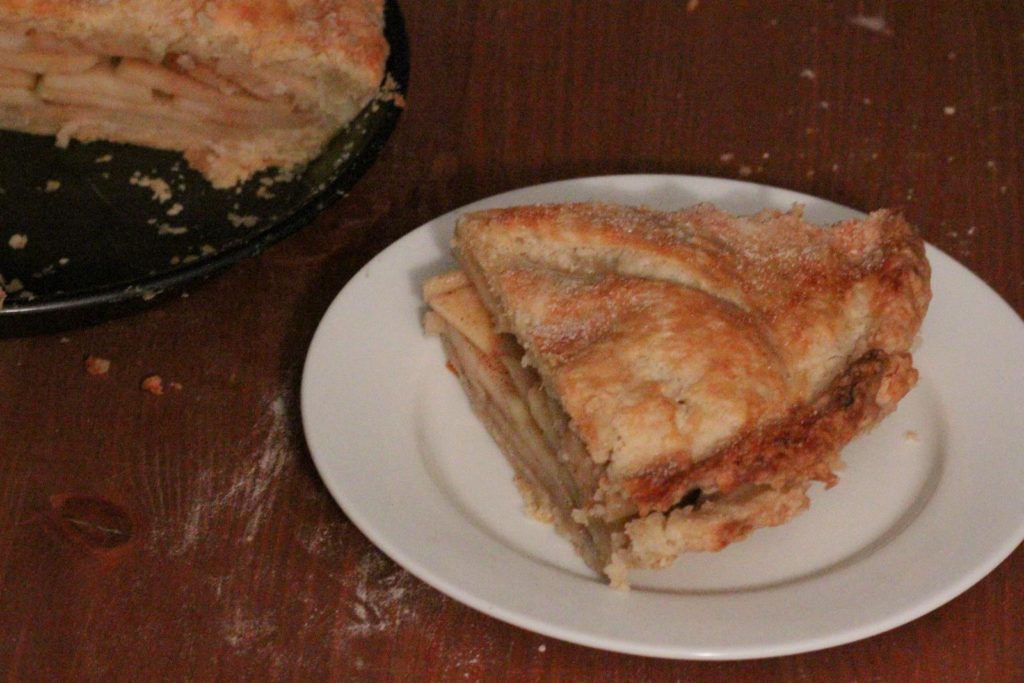
This apple pie was definitely a case of trial and error.
I asked Robby if there was anything he wanted to see on the blog as we round the corner into Fall. It went like this.
“Hey love, are there any fall recipes you want–”
“PIE!”
“What kind of–”
“APPLE!”
Message received.
Here’s the thing, though: I’ve never made pie at home. (I thought it was a case of “Didn’t make pie very often” and then I realized that I didn’t own a pie tin.) I’ve made pumpkin pies, but that’s just a matter of pouring batter into a store-bought pie crust.
If I was going to make an apple pie, I’d have to do it right. That meant choosing apples, putting together some kind of filling…and tackling the big issue, the thing that stops so many people from making pie at home.
Pie crust.
Dun dun DUUUUUUNNN.
Now, if you have a foolproof pie crust method, please share it in the comments! We can never have too many great pie crust recipes. For instance, my friend swears by Paula Deen’s Perfect Pie Crust, a classic butter/shortening recipe. I didn’t want to use shortening, so I did some googling and settled on this recipe from Serious Eats.
There’s a lot of science, which you can read here, but the gist is that the trickiest part of pie crust is when the fat (butter and/or shortening) is cut into the flour. Ideally, it creates little pockets of flour-coated butter that melt into beautiful layers. Where a lot of pie crusts fail is that they are either undermixed and never come together, or are overmixed and get tough. This recipe allows–nay, encourages!–you to just squash together the butter and 2/3 of the flour to form a paste, before adding the rest of the flour. This paste magically (or scientifically, if you read the article) acts like flour-coated fat, forming a dough that’s easier to handle AND bakes into beautiful flaky crust.
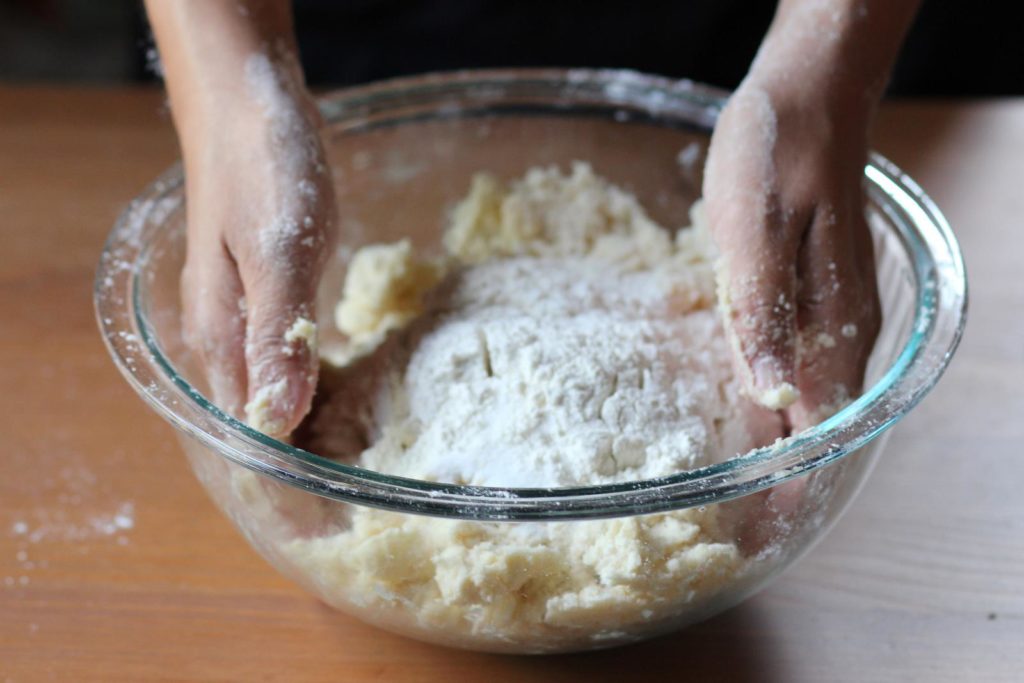
Bonus: The recommended method is a food processor. Food processor pie crust! How great is that? I don’t have a food processor (yet), so I mixed it all together with my hands. And it came out great! Even though I undermixed the dough a little, it still came out flaky and buttery.
Is it the perfect pie crust? That I can’t say, but there sure is a lot going for it. Let’s summarize:
- it doesn’t require shortening
- it can be done in a food processor
- it’s fast!
If this was a successful trial, where’s the error? Ironically, the “easy” part, the filling, is the part I’m still working on. The Serious Eats apple pie filling tastes pretty good, but it didn’t have a lot of gooey goodness between the apples, which to my mind is a fault. If you have great filling ideas, leave them in a comment! Otherwise, I’ll be over here, eating testing more pies.
(Credit for the photos that feature my hands goes to Robby. He was very patient, and also paid in pie.)
PrintPerfect Easy Pie Crust
- Prep Time: 0 hours
- Cook Time: 0 hours
- Total Time: 0 hours
- Yield: 1 double pie crust 1x
Ingredients
- 2 1/2 cups flour (350 grams or 12.5 ounces)
- 2 tablespoons sugar, divided (38 grams)
- 1 teaspoon kosher salt (5 grams)
- 2 1/2 sticks unsalted butter, cut into 1/4-inch pats (280 grams or 10 ounces)
- 6 tablespoons cold water (85 milliliters or 3 ounces)
- 1 egg white, beaten
Instructions
By Hand
- In a large bowl or on a clean surface, stir together two thirds of the flour with sugar and salt. Add in butter chunks and use your clean hands to squash the butter pieces into the flour mix, until dough begins to clump and no dry flour remains.
- Add the rest of the flour. Mix briefly, until dough is just broken up. Sprinkle water over dough. Use a rubber spatula to fold and push dough until it comes together.
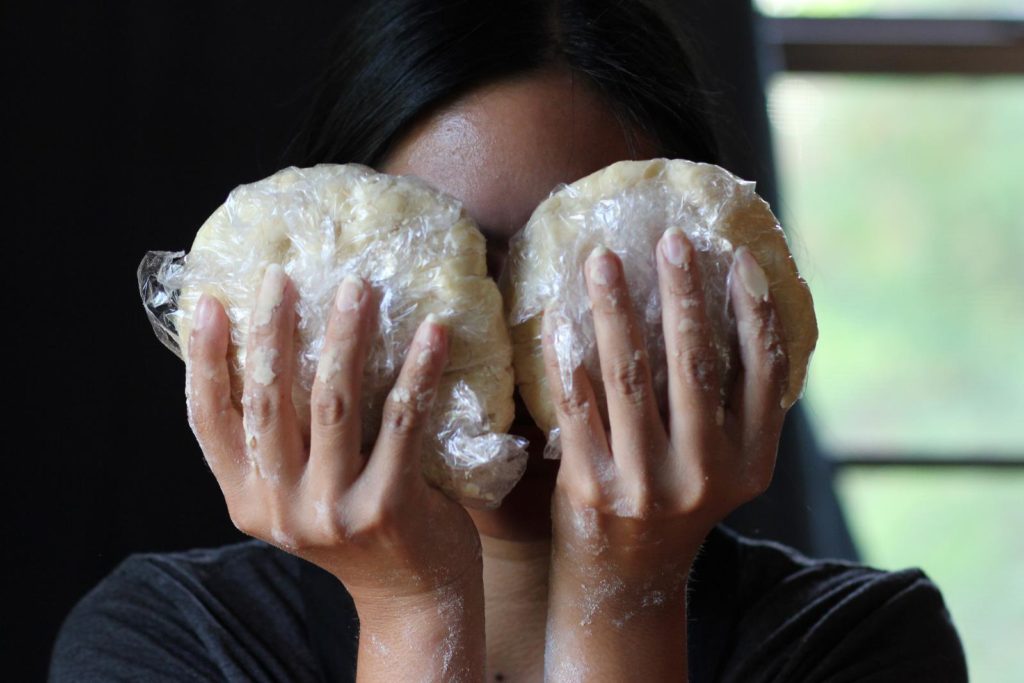
- Divide into two balls, flattening slightly. Wrap each in plastic wrap and refrigerate for at least 1 hour before baking.
In a Food Processor
- In the food processor bowl, combine two thirds of the flour with 2 tablespoons sugar and salt; pulse quickly to incorporate. Distribute butter chunks over the top and pulse until dough begins to clump and no dry flour remains.
- Use a rubber spatula to evenly distribute the dough around the bowl. Sprinkle in remaining flour and pulse briefly, until dough is just broken up.
- Transfer to a large bowl or clean surface. Sprinkle water over dough. Use a rubber spatula to fold and push dough until it comes together.
- Divide into two balls, flattening slightly. Wrap each in plastic wrap and refrigerate for at least 1 hour before baking.
Baking!
- Preheat oven to 425 degrees Fahrenheit.
- When it comes time to roll out the dough, flour a clean surface, the dough, and your rolling pin well.
- Roll with strength and patience, turning the dough a bit with each pass (so it doesn’t stick to the counter). Roll in opposite directions so that it remains more or less circular, until dough is about 1/8 inch thick. Place in pie pan and add filling.
- Roll out the other pie crust and drape over the top. Use kitchen shears to trim both pie crusts so that they hang over the plate about 1/2 inch.
- Fold both edges under, between the bottom crust and the tin. Use your thumb and finger to crimp the edges. Cut slits in the top for ventilation (or cut out bits or whatever decoration you like). Brush with egg wash and sprinkle with remaining tablespoon of sugar.
- Bake pie for about 20 minutes, then lower heat to 375 degrees. Bake for another 25 minutes, or until crust is golden brown and a fork tapped on it bounces slightly.
Notes
I’ve listed the ingredients here by weight, as well as volume. Although I usually don’t bother, I think pie crust is a place where it’s worth it to take the extra step of weighing, especially when it comes to the flour and butter.



[…] swears by Paula Deen‘s pie crust recipe; I favor my Perfect Easy Pie Crust. There’s also nothing to stop you from using refrigerated pie crust! If you buy pre-made pie […]